Google Search Console (earlier known as Google Webmaster tools) is a collection of online professional web tools provided by google for free. GSC help you to manage your website for google search results. GSC include features like Search appearance, Search traffic analytic, error checking, website improvement suggestions and so more.

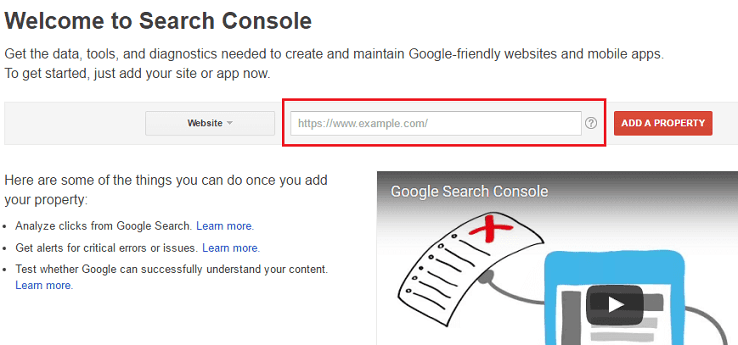
Step 1. Go-to https://www.google.com/webmasters/tools and then login with your google account.
Step 2. Enter your blog address in the given area.
- For Custom domain users: http://www.example.com you can also use https instead of http if you have purchased SSL from your domain registrar.
- For Normal blogger users: http://www.example.blogspot.com you can also use https instead of http because blogger provide SSL for its sub-domains free of cost.

Note: If your are using https make sure https redirect is 'on' in Settings > Basic > HTTPS
Recommended: You can add all four possible properties of a domain to get best out of Webmaster tools. For Example, if you have a domain name example.com then you can add following properties too:
http://example.com/
http://www.example.com/
https://example.com/
https://www.example.com/
Step 3. If you have used same google account to login in search console that was linked with blogger account then your blog will automatically get verified.
Step 4. Click on "Not now".
Note: If you didn't get verified as an owner of website then you can use alternative given methods.
Read: How to Add Sitemap in Google Search Console using Official sitemap URL.
Awesome!
You can also verify the indexing for your blog by searching in the Google with "site:yourblog.com". Replace yourblog.com with the URL of your blog like here in my case it is site:howbloggerz.com.
Remember: Indexing process can take up to a week or more. be patient!
Now you have successfully created your Search console account and have attached your blog with it. For any issues related to the above Tutorial Please Comment Below. Stay Updated, Browse Howbloggerz ! :)

Post a Comment